This article includes an introduction to the Z500. It also includes usage guidelines and notes.
A certain institute of Chinese Academy of Sciences, because of the experiment needs to buy a Hongrui Z500 printer. After a month of study (actually, drums, hoops, and tables full of villains). Share and share experience
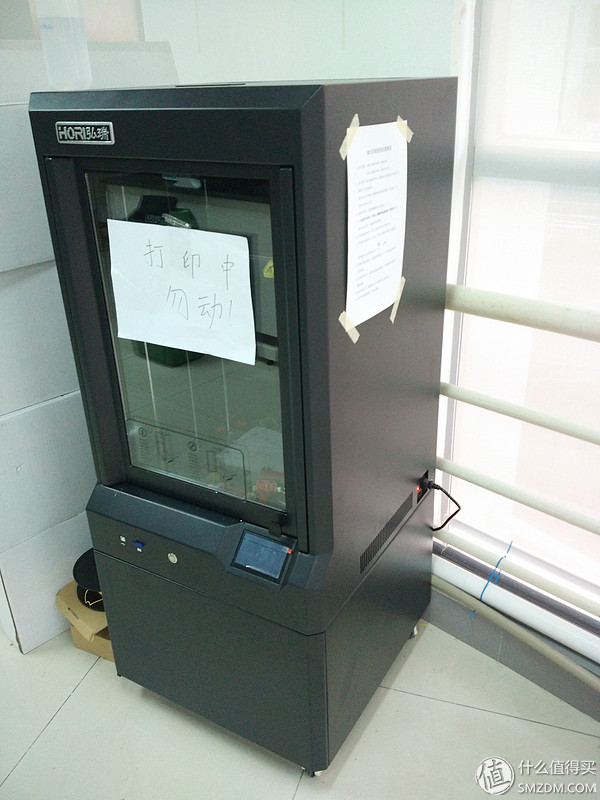
This is the big guy, located in the corner of the lab. Divided into two spaces, the top is the print area. There are two doors that can be opened, a front door, and a front door. The front door is transparent glass, and the printing process can be clearly seen. Below is the area where storage consumables and feeders are placed. The space is very large. It is estimated that up to 6 volumes of 1KG consumables and one consumable in use can be placed.
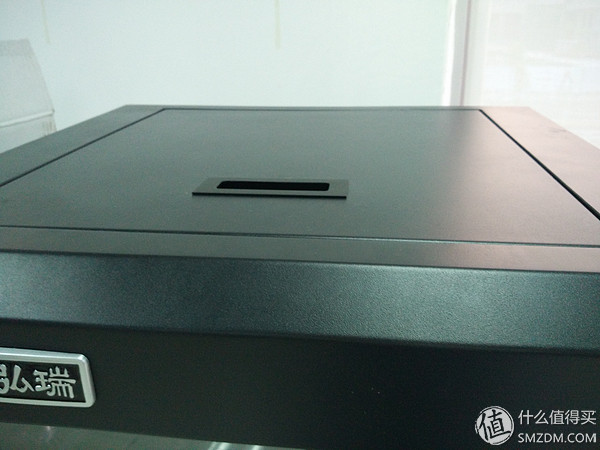
This is the upper door. There are handles, which can be opened. There is a need to spit it. There is no support structure after opening, that is, either one is held by hand or it is opened to the maximum. When you are busy, you often forget to let go and you understand
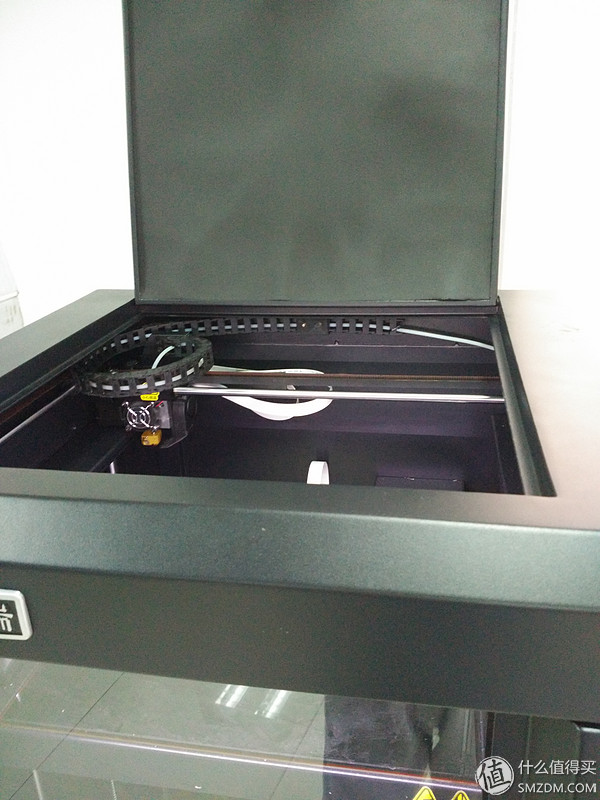
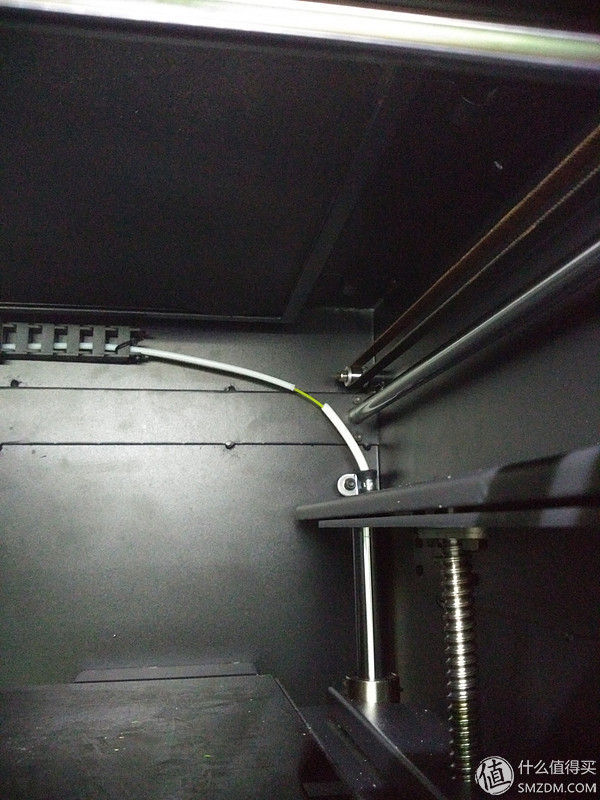
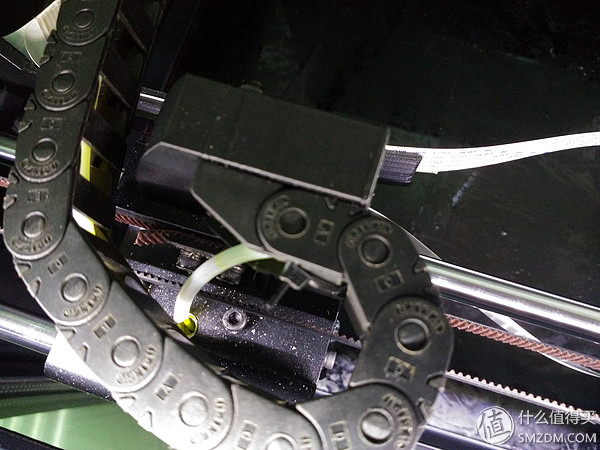
Open the cover, you can directly see the print head, feed tube, stepper motor, heating plate. Anyway, it is the core area. Professionals don’t talk about it (in fact, I don’t understand)

This is the printer's front panel, from left to right are the computer interface, SD card slot, switch, operation box, very simple. Sri Lanka believes that the operation box should be placed on the top of the z300, and that every operation needs to be carried.
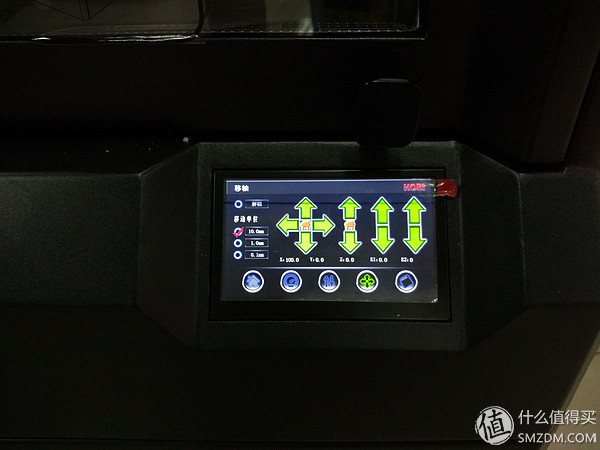
The operation box has a good definition and can be clearly seen during the day and night. Each function is also very simple and clear. Resistive screens often touch, so it's best to stay away from him when printing. Something that hit for eight hours was broken and reprinted
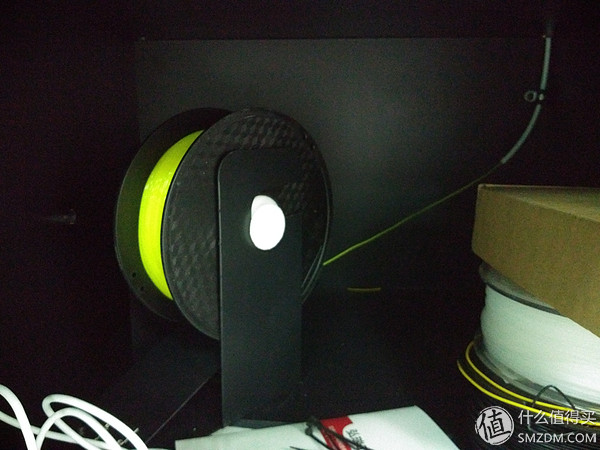
This is the bottom of the cabinet, the feeding wheel, changing the consumables to go through the white tube, it is strenuous and the design is not very human.
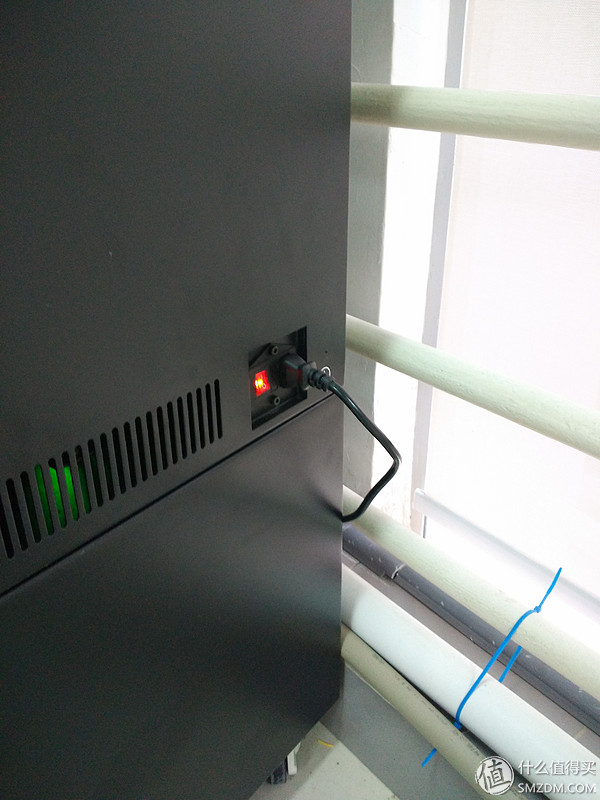
The right side of the power switch, this printer is with UPS, UPS you know. Therefore, when printing, it is best to confirm where the power supply is, and UPS can only respond to the emergency.
Well the shape is introduced here
Second, the use of 3D printer processModel design: The well-designed model file should be saved as stl, boj, bmp, etc., because the self-contained software seems to support these.
Print file conversion: Download the HORI 3D printing software system and install it on the official website of Hongrui 3D printer.

The official website has two softwares, download HORI 3D printing slice and control system, this is relatively easy to use, the installation does not need to say
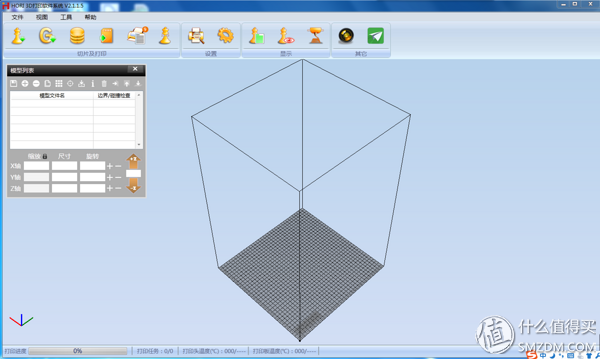
The opening is like this, the title bar, toolbar, cliche, are the same. Toolbar is more important

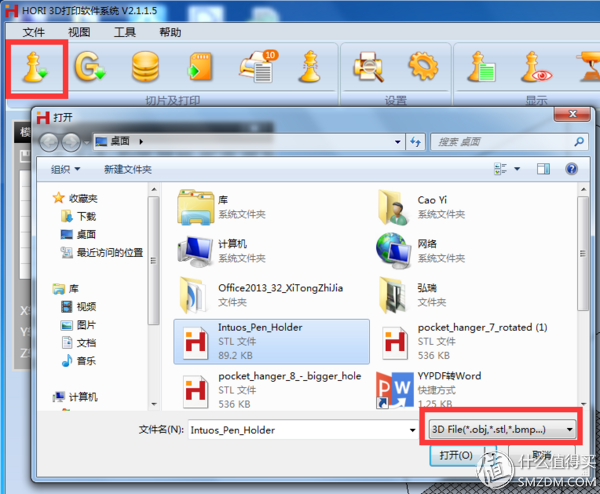
The software toolbar is divided into four groups as above. The first group of slices and the first one to print is the Open Model button, select the saved model file and import it.
Select the first button of the setting group to open the slice setting button.
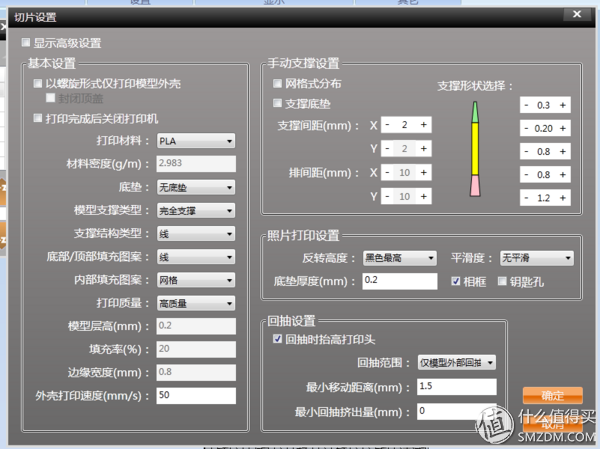
According to the consumables to select the printed material, it is not necessary to use a floor mat, and the type of support is selected according to the complexity of the model. More refined model print quality selects higher print quality and simple model selects lower quality. Other defaults are fine. Open the upper-left display advanced settings. In general, the filling rate is 20%. Solid is not necessary.
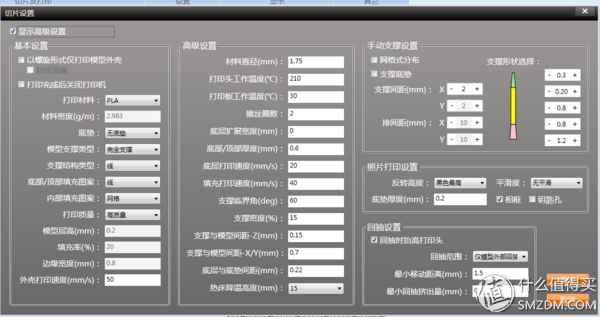
According to the consumables, choose different print head working temperature and printing plate working temperature (ABS: 240, 90.PLA: 210, 30-50, other materials please set by yourself), other defaults are enough.
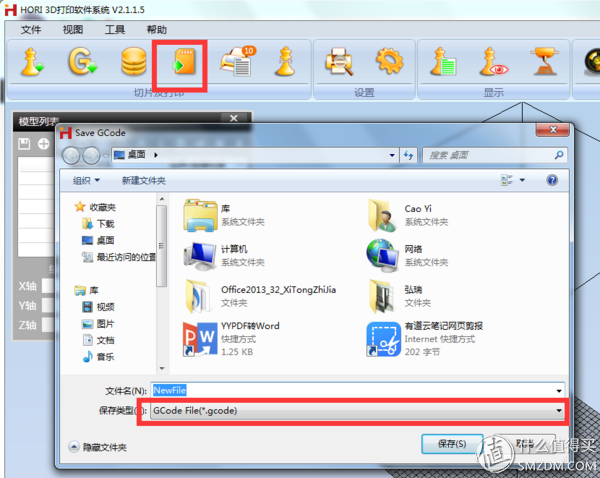
Select the fourth in the slice and print group, send to the SD card, and select the location to save. Visible save type is .Gcode. This is the only format the printer can directly recognize.
Printer model settings. Select Set Group Second - Factory Mode Settings.
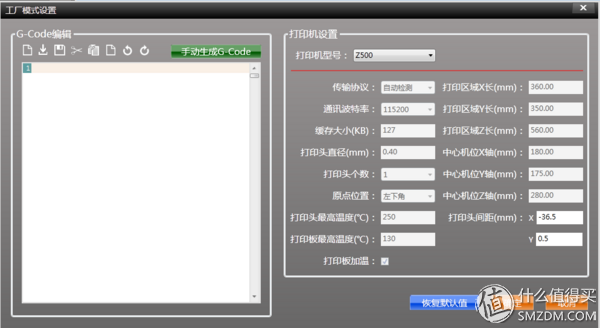
Select the printer model: We are using the Z500 model. When selected, factory default settings for the Z500 will appear. If you are not using a 0.4 nozzle, then select Custom in the printer model to change the printhead diameter based on the installed printhead diameter. Others will not change
Place the saved printer file in the memory card and insert it into the memory card slot on the front of the camera.
Power on: Open the power switch on the right panel, and open the front panel switch.
Print: Select the last button on the front panel
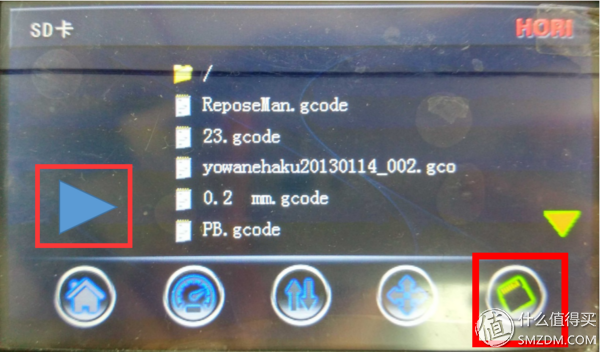
Select your own file and click on it. Start printing.
Wait for you to finish printing and stop automatically.
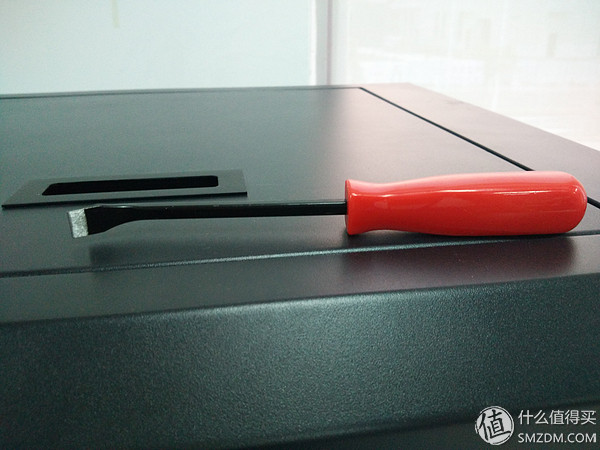
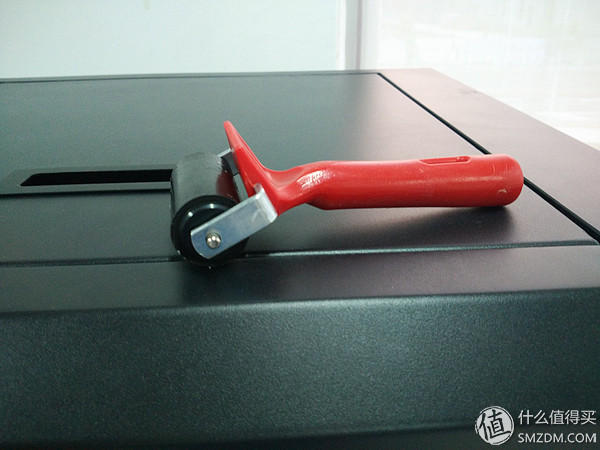
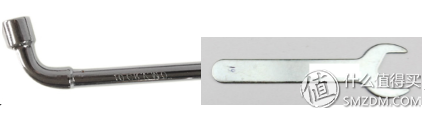
Remove the printed model with a special wavy rod, clear the garbage generated during printing, close the upper and lower windows, and press and hold the front panel button for 3-5 seconds to close the front panel and turn off the right power switch. Buying a printer is best to print a few bars first, big things are difficult to get down. This is the bottom stick
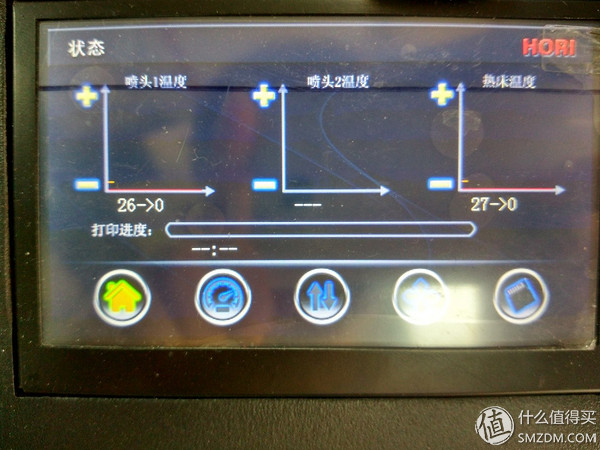
The first button is the status display box, which shows the real-time temperature of the print head and hot bed and the print progress. Click + or - will increase and decrease the temperature by 5 degrees, double-click the nozzle 1 temperature + will automatically increase to 200 degrees, double-click the nozzle 1 temperature - will be reduced to 0 degrees. The hot bed temperature is 50 and 0 degrees. The print progress is a reference, not too accurate.
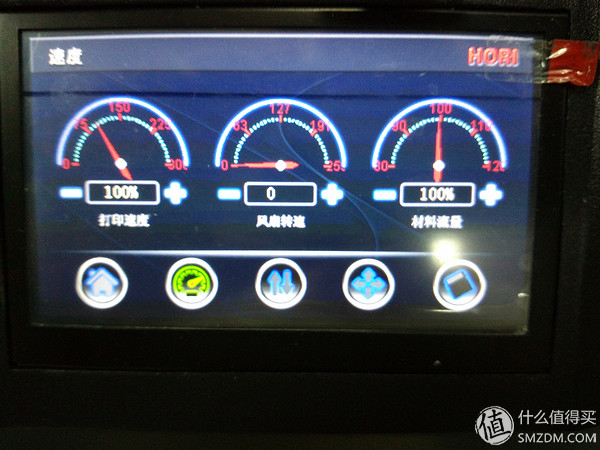
Operation frame 2 can adjust the print speed, fan speed, and flow rate. The printing speed is better at 40-60. The fan speed is not controlled. The material flow rate can be adjusted as needed.
Replacement Consumables: ABS and PLA are two common supplies for 3D printers.
Click the third button, select PLA or ABS according to the consumables to be replaced, and then click on a return material. After the machine starts beeping, remove the consumables from the top of the heating block.
Insert it from the feeding port of the lower cabinet and out from here. Then insert the upper white tube.
Things to pay attention to here, before the insertion, we must compare the beginning of the paragraph to the more straight, so that it is easy to insert. If you pull it out, just pull it out after the temperature.
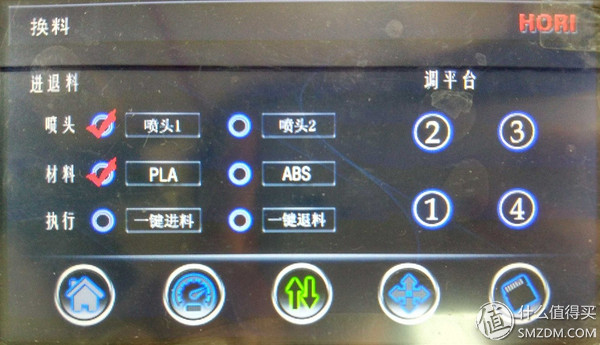
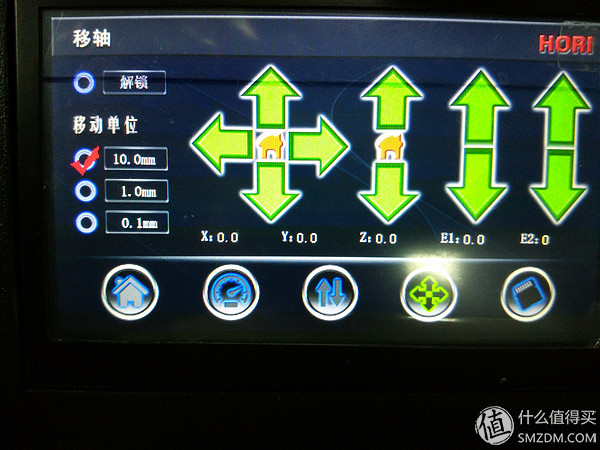
Similarly, select a key feed, wait for the machine beep, the beginning of the consumables hand straight straight, vertical force into the feed inlet, such as when the print head began to spray material indicates that the consumables are added correctly. Click the operation box to shift the axis. The direction of E1 can make the gold wheel rotate. I'm used to adding a few E1 points after each feeding to make it more consumables.
Leveling: After replacing the heater plate, replacing the nozzle, and servicing the printer, it needs to be re-leveled.
The same is the third button. Take an A4 paper and place it between the hot plate and the shower head. After clicking 1, 2, 3, 4 on the lower side of the table in sequence, the sprinkler will automatically move the leveling position and adjust the distance between the plate and the hot plate. After the nozzle moved to the corresponding position, twitch A4 paper, found that there is resistance when twitching but will not scratch the paper, then push the paper inward, A4 paper does not move, this time indicates the distance between the nozzle and the heating plate Just right. Otherwise adjust the corresponding nut under the heating plate, adjust the distance, adjust and then test again, until it can be smoothly extracted and can not be successfully pushed into.
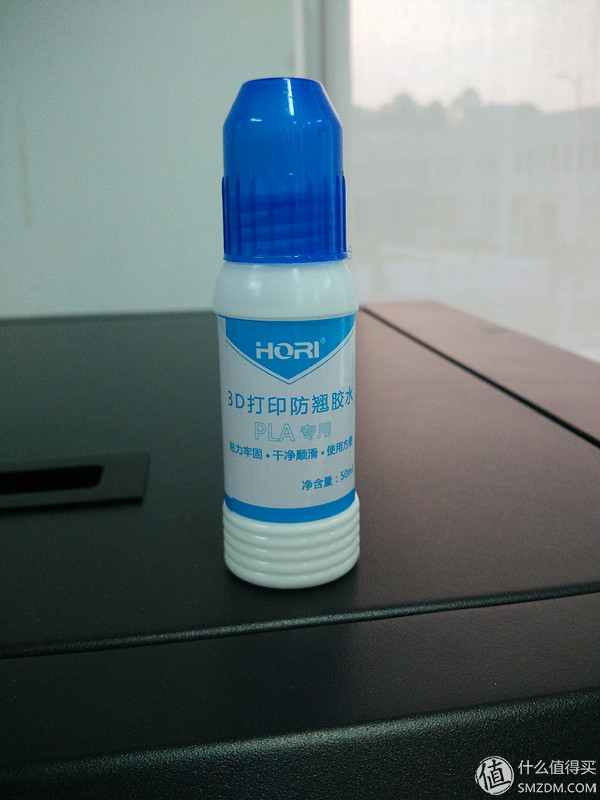
Add glue on the heating plate in time. After starting to use or clean up the heating plate, the heating plate must be completely coated with printing glue, and usually only need to be supplemented with dew-white spots. The method is: Drop a few drops of glue in a blank place and use a roller to smooth the glue until you dry it. The glue is water-soluble. After a period of time, the glue is wiped off with a rag and cleaned. When printing a good model, if you can't get it, add some water around the model.
Replace the nozzle. There are tools in the toolbar. Take two wrenches. The previous wrench stuck the nozzle and the next wrench stuck the heater. The previous wrench should be completely in contact with the nozzle, otherwise it is easy to break the nozzle. Remove the old nozzle and replace it with a new one. Here we must pay attention to the temperature before the operation to 200 (PLA), 230 (ABS) degrees Celsius. Be careful not to get burned during operation.
Printing temperature: ABS: heating block 240 °C, bottom plate 90 °C
PLA: Heat block 210°C, bottom plate 30-50°C
Use of glue: Before using ABS material, be sure to determine if there is glue at the printing site. If it is missing, paint it before printing.
Before using ABS printing, verify that the consumables are properly inserted and insert them firmly. Otherwise it will not produce silk when printed.
After using the printer, wait for the nozzle to wipe before leaving.
! ! When using the printer, the print head and nozzle have high temperatures. Be careful! ! When using ABS printing, the base plate temperature is also relatively high.
The printer instruction manual and related tools are located in the lower cabinet of the printer.
Please save the design model as stl format. Then use special software to convert to print format. The software should be downloaded from Hongrui official website.
The correct shutdown procedure is: Press and hold the front panel button for 3-5s until the LCD screen is closed and then turn off the power.
When ABS material is printed, it must be added in the setting, and large-size objects must be printed with anti-dip mat.
Insert the memory card with the metal side facing up! ! This model: Hongrui z500
There is a video tutorial in the memory card that you can watch on your own.
When the consumables are replaced when not in use, the end of the removed consumables is threaded into the holes provided in the roller to maintain the tightness of the consumables.
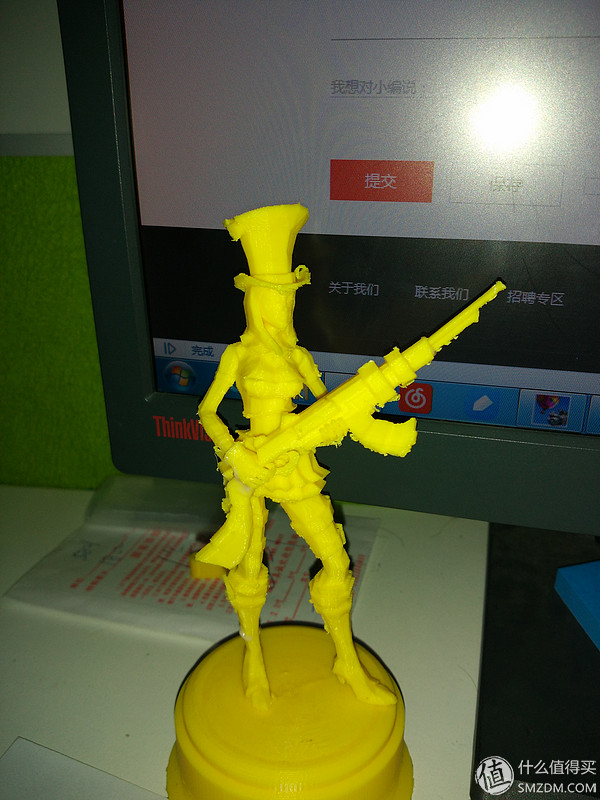
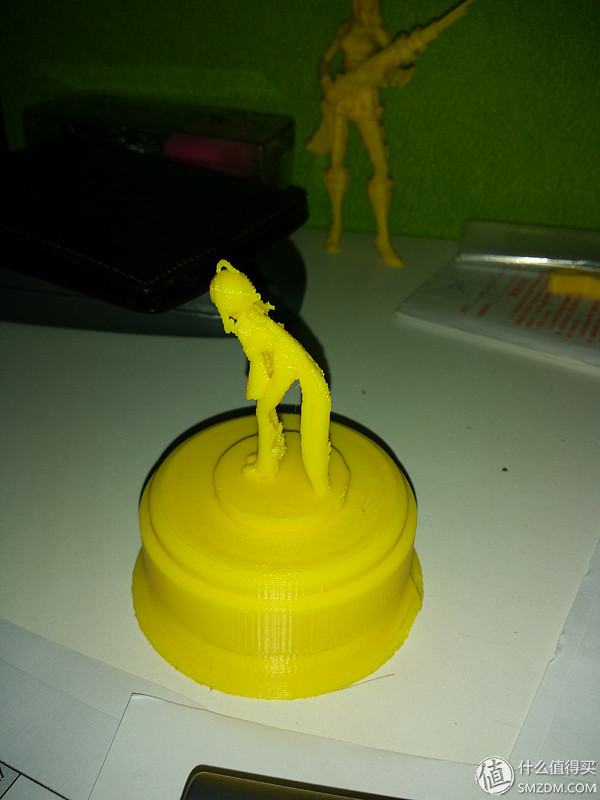
In actual use, it was found that the Z500 printing was not as imaginative as it was in detail, and it was not known whether it was improperly used or was it. Send a few pictures to see